插件开发指南
插件开发指南,通过一个简单例子,教你如何开发插件。
简单例子
下载插件开发配置插件
登录工具,到市场-工具插件 下载插件开发配置插件。 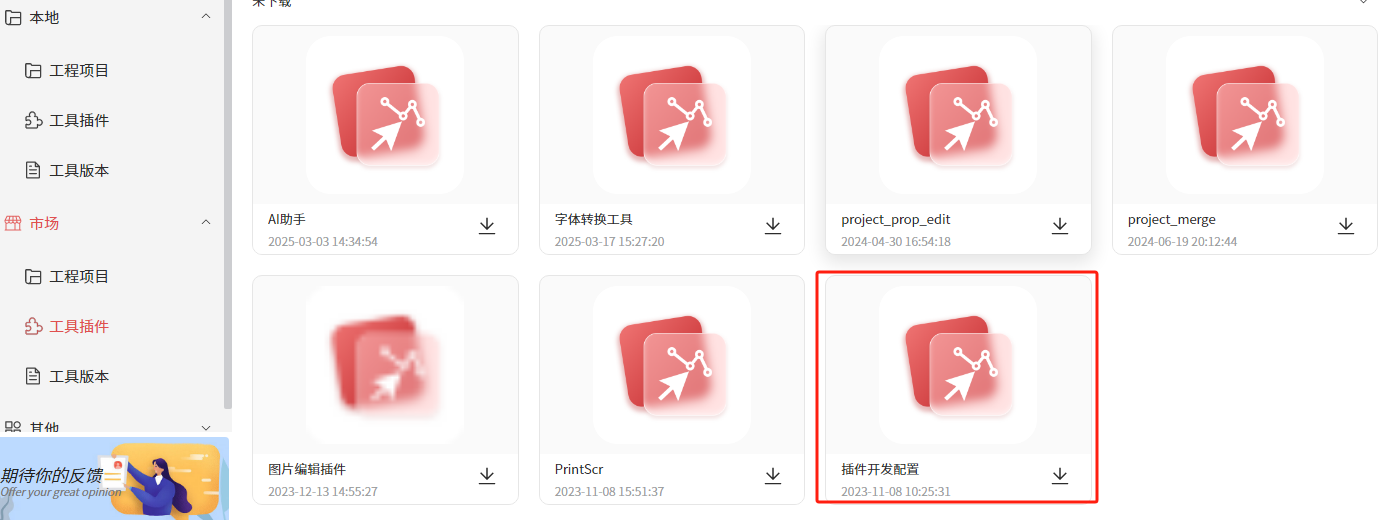
配置信息
下载完之后,到本地-工具插件 运行对应的插件。 配置好对应的插件目录、插件名、入口文件等信息。然后点击提交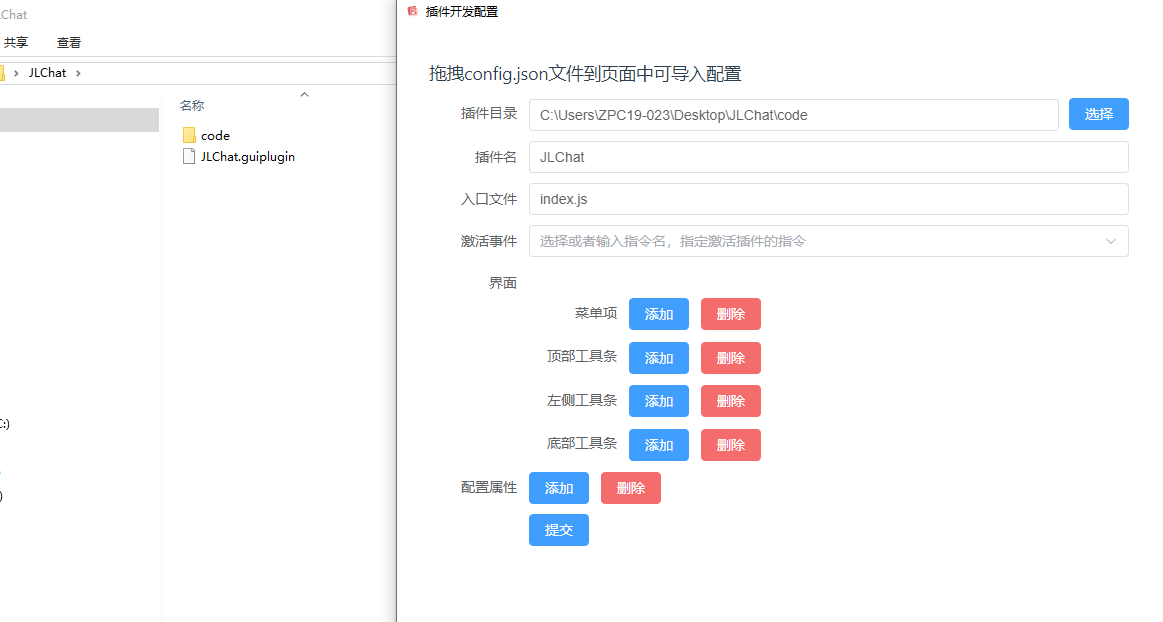
写入代码
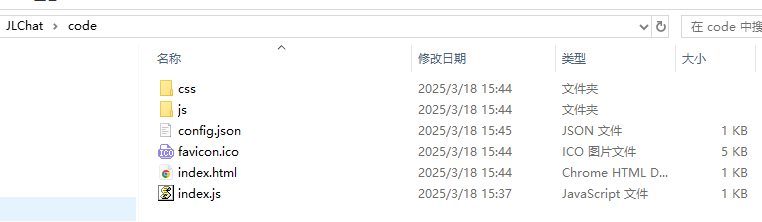
配置好之后,打开对应目录,在code目录下新建index.js, 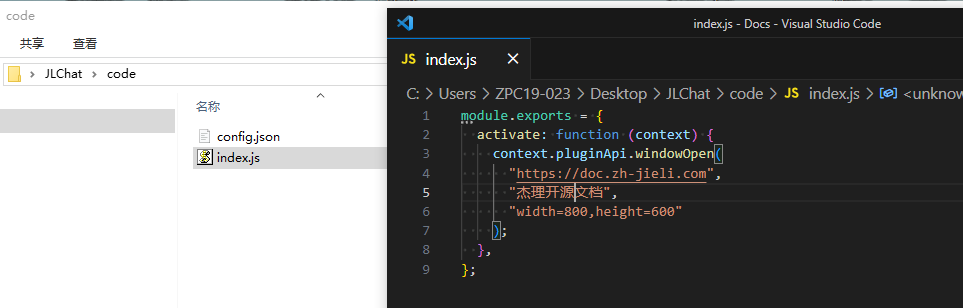 然后可以在index.js中写入代码。
module.exports = {
  activate: function (context) {
    context.pluginApi.windowOpen(
      "https://doc.zh-jieli.com",
      "杰理开源文档",
      "width=800,height=600"
    );
  },
};
再次打包成 guiplugin
写好代码后,再次提交打包 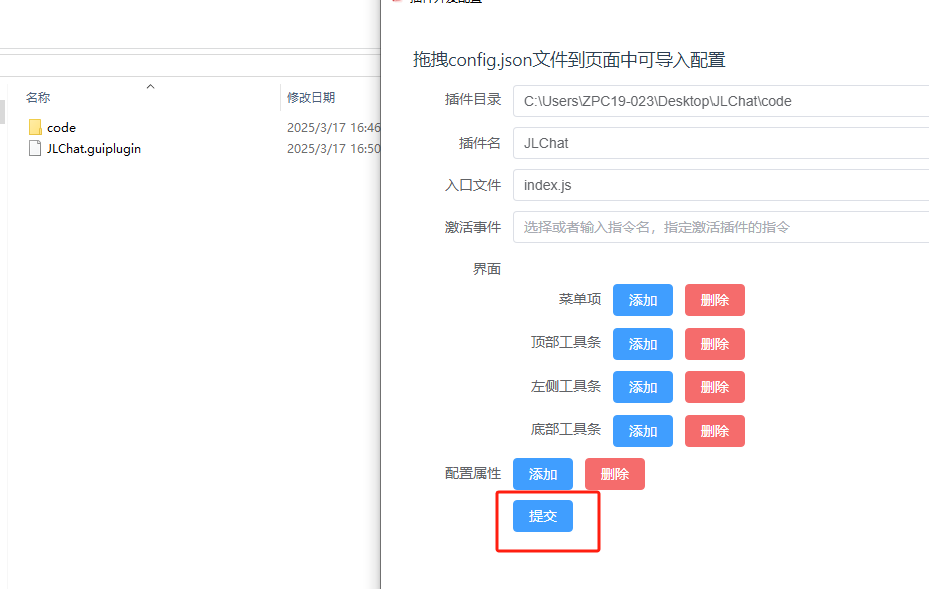
拖到工具中使用
将生成好的JLChat.guiplugin拖到工具中使用。 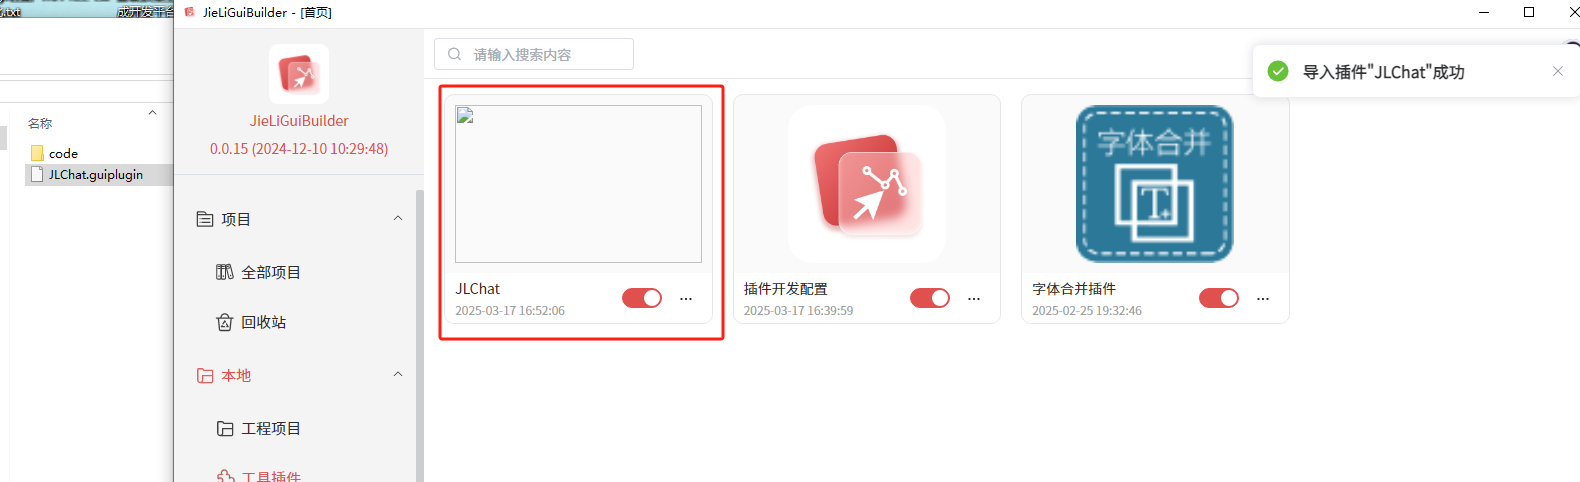
打开插件
点击打开插件,可以看到插件打开了杰理开源文档。 
打开本地文件
需要将index.js代码修改如下:
const path = require('path')

module.exports = {
  activate: function (context) {
    context.pluginApi.windowOpen(
      path.join(process.cwd(), "./index.html"),
      "插件开发",
      "width=800,height=600"
    );
  },
};
然后在当前目录下新增 index.html 文件,在里面写上对应的html内容。
<!DOCTYPE html>
<html lang="en">
<head>
  <meta charset="UTF-8">
  <meta name="viewport" content="width=device-width, initial-scale=1.0">
  <title>JLChat</title>
</head>
<body>
  <h3>Hello JLChat!</h3>
  <script>
    var path = electronApi.getPublishPath(); //壳接口(类似electron接口)
    console.log("工具目录: " + path);
  </script>
</body>
</html>
复杂插件开发
这里使用Vue项目开发插件。并通过electronApi接口调用工具原生接口。
初始化项目
按照普通的vue项目初始化即可。然后在上一步中的index.js中修改如下:
const path = require('path')

module.exports = {
  activate: function (context) {
    context.pluginApi.windowOpen(
      path.join("http://127.0.0.1:8081/"),
      "插件开发",
      "width=800,height=600"
    );
  },
};
运行插件
这样就可以在插件弹出框里面看到vue项目的内容了。这个是开发模式下的项目 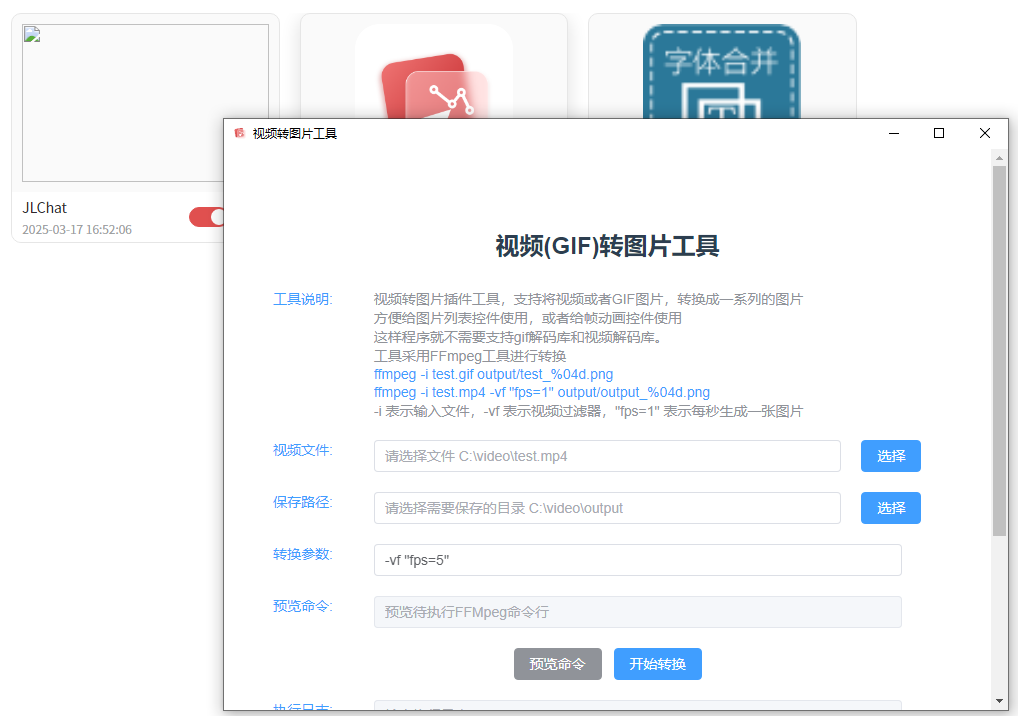
功能开发
新建一个普通的vue工程 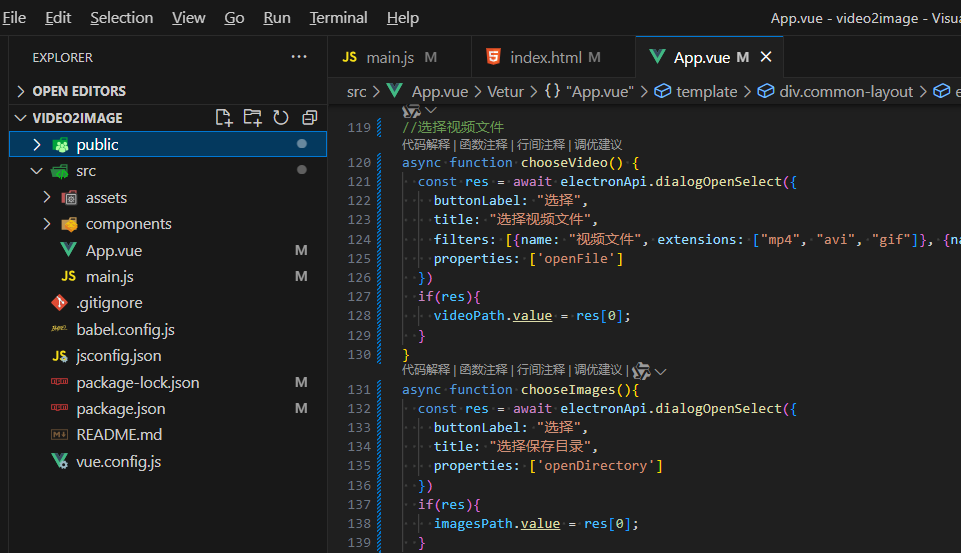
App.vue代码如下
<template>
  <div class="common-layout">
    <el-container>
      <el-header><h1>视频(GIF)转图片工具</h1></el-header>
      <el-main>
        <el-row :gutter="20">
          <el-col :span="4">
            <el-text class="" type="primary">FFmpeg文件:</el-text>
          </el-col>
          <el-col :span="16">
            <el-input v-model="ffmpegPath" placeholder="请选择FFmpeg程序 C:\video\ffmpeg.exe"></el-input>
          </el-col>
          <el-col :span="2">
            <el-button type="primary" @click="chooseFFmpeg">选择</el-button>
          </el-col>
        </el-row>
        <el-row :gutter="20">
          <el-col :span="4">
            <el-text class="" type="primary">视频文件:</el-text>
          </el-col>
          <el-col :span="16">
            <el-input v-model="videoPath" placeholder="请选择文件 C:\video\test.mp4"></el-input>
          </el-col>
          <el-col :span="2">
            <el-button type="primary" @click="chooseVideo">选择</el-button>
          </el-col>
        </el-row>
        <el-row :gutter="20">
          <el-col :span="4">
            <el-text class="" type="primary">保存路径:</el-text>
          </el-col>
          <el-col :span="16">
            <el-input v-model="imagesPath" placeholder="请选择需要保存的目录 C:\video\output"></el-input>
          </el-col>
          <el-col :span="2">
            <el-button type="primary" @click="chooseImages">选择</el-button>
          </el-col>
        </el-row>
        <el-row :gutter="20">
          <el-col :span="4">
            <el-text class="" type="primary">转换参数:</el-text>
          </el-col>
          <el-col :span="18">
            <el-input v-model="tranArgs" placeholder="FFMpeg参数"></el-input>
          </el-col>
        </el-row>
        <el-row :gutter="20">
          <el-col :span="4">
            <el-text class="" type="primary">预览命令:</el-text>
          </el-col>
          <el-col :span="18">
            <el-input  type="textarea" :rows="4" v-model="previewCmd" placeholder="预览待执行FFMpeg命令行" disabled></el-input>
          </el-col>
        </el-row>
        <el-row :gutter="20">
          <el-col :span="24">
            <el-button type="info" @click="preView">预览命令</el-button>
            <el-button type="primary" @click="tran" :loading="tranStatus">开始转换</el-button>
          </el-col>
        </el-row>
        <el-row :gutter="20">
          <el-col :span="4">
            <el-text class="" type="primary">执行日志:</el-text>
          </el-col>
          <el-col :span="18">
            <el-input type="textarea" :rows="10" placeholder="输出执行日志" disabled v-model="logMsg"></el-input>
          </el-col>
        </el-row>
      </el-main>
    </el-container>
  </div>
</template>

<script setup>
/* eslint-disable */
import { ElNotification } from "element-plus";
import { ref } from "vue";

const videoPath = ref("");
const imagesPath = ref("");
const tranArgs = ref(`-vf "fps=5"`);
const previewCmd = ref("");
const logMsg = ref("");
const tranStatus = ref(false);
const ffmpegPath = ref('"' + electronApi.getPublishPath().replaceAll('\\', '/') + '/tools/environment/external_tool/ffmpeg"');

async function chooseFFmpeg(){
  const res = await electronApi.dialogOpenSelect({
    buttonLabel: "选择",
    title: "选择FFmpeg文件",
    filters: [{name: "可执行文件", extensions: ["exe"]}],
    properties: ['openFile']
  })
  if(res){
    ffmpegPath.value = '"' + res[0] + '"';
  }
}
//选择视频文件
async function chooseVideo() {
  const res = await electronApi.dialogOpenSelect({
    buttonLabel: "选择",
    title: "选择视频文件",
    filters: [{name: "视频文件", extensions: ["mp4", "avi", "gif"]}, {name: '所有', extensions: ["*"]}],
    properties: ['openFile']
  })
  if(res){
    videoPath.value = res[0];
  }
}
async function chooseImages(){
  const res = await electronApi.dialogOpenSelect({
    buttonLabel: "选择",
    title: "选择保存目录",
    properties: ['openDirectory']
  })
  if(res){
    imagesPath.value = res[0];
  }
}
const preView = () => {
  var cmd = `${ffmpegPath.value} -i "${videoPath.value}" ${tranArgs.value} "${imagesPath.value}\\output_%04d.png"`;
  previewCmd.value = cmd;
};

async function tran() {
  var cmd = `${ffmpegPath.value} -i "${videoPath.value}" ${tranArgs.value} "${imagesPath.value}\\output_%04d.png"`;
  previewCmd.value = cmd;
  tranStatus.value = true;

  var output = "";
  await electronApi.childProcessExecByCodePage(cmd, {}, (res) => {
    if(res.type == 'output'){
      output += res.msg;
    }else if(res.type == 'error'){
      output += res.msg;
    }else if(res.type == 'exit'){
      ElNotification({
        title: "提示",
        message: "命令执行成功,执行结果是否正确,请查看输出日志",
        type: "success",
      });
    }
    logMsg.value = output;
  })
  tranStatus.value = false;
};
</script>
<style>
/*略*/
</style>
API说明
上面代码,用到几个壳的api接口
electronApi.getPublishPath(); //获取工具的发布目录
electronApi.dialogOpenSelect(); //弹出选择框
electronApi.childProcessExecByCodePage(); //执行cmd命令
electronApi.fileWrite(path, data); //写入文件
var data = electronApi.fileRead(path, 'utf-8'); //读取文件
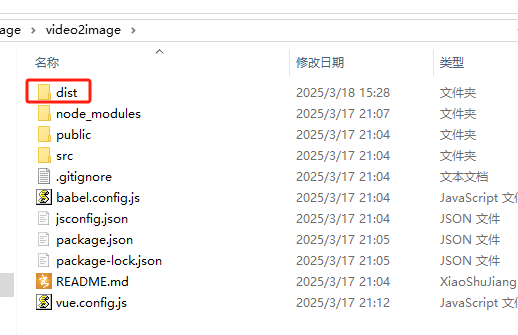
打包vue
按照正常项目,打包vue工程npm run build,然后把vue打包后的dist产物,放到之前插件的code目录下。
vue.config.js 配置文件改成如下,不然打包后会找不到入口文件。
const { defineConfig } = require('@vue/cli-service')
module.exports = defineConfig({
  publicPath: './', //需要配置相对目录
  transpileDependencies: true
})
点击插件开发配置工具,打包成guiplugin插件包,即可发布使用。
内部发布可以共享给其他人使用市场发布可以发布到市场,供所有人使用vue编译后产物
放到插件code目录
再次打包 重新打包后的
*.guiplugin插件包,就可以在插件管理中使用了。 注意:这里记得需要把index.js改回来,不然打包后会找不到入口文件。
其他高级配置
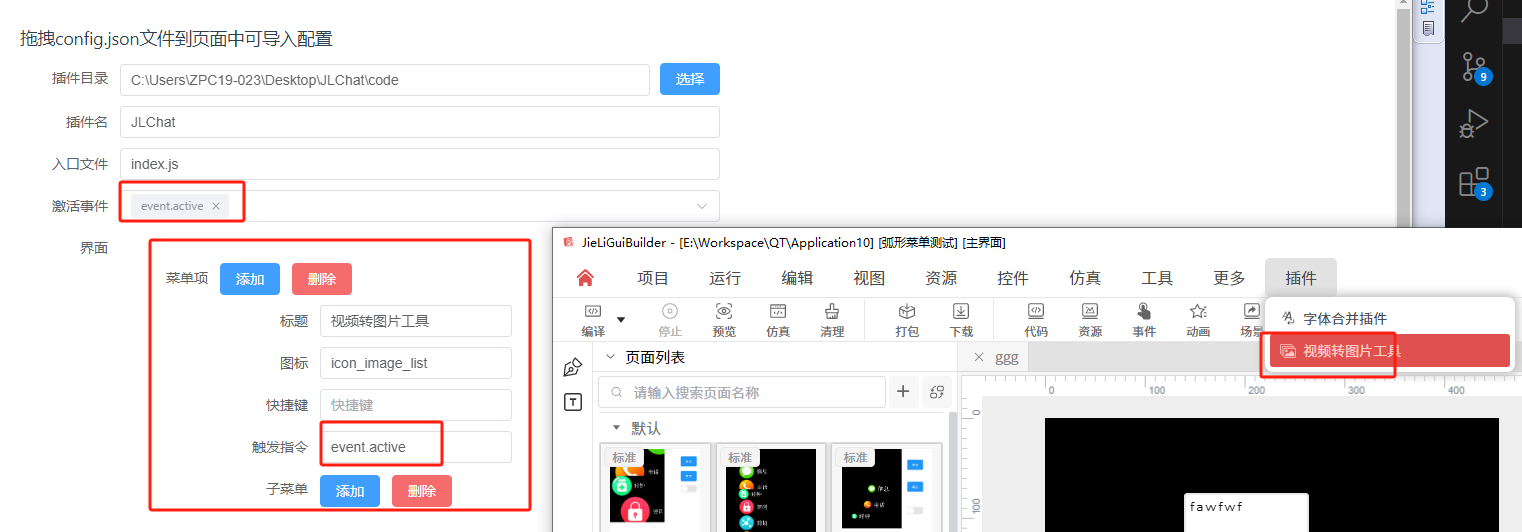
要发布成可以在设计界面时能点击的插件,那么还需要额外在插件开发配置配置对应的界面显示和激活事件。 如下图,配置激活事件event.active,随便写个事件名称,保证不重复即可。
菜单项的标题视频转图片工具,图标icon_image_list。最后重新打包。
 杰理公司内部人员,将生成后的
*.guiplugin插件发布到市场,供所有人使用。
插件发布后效果
登录工具后,可以在市场上进行下载 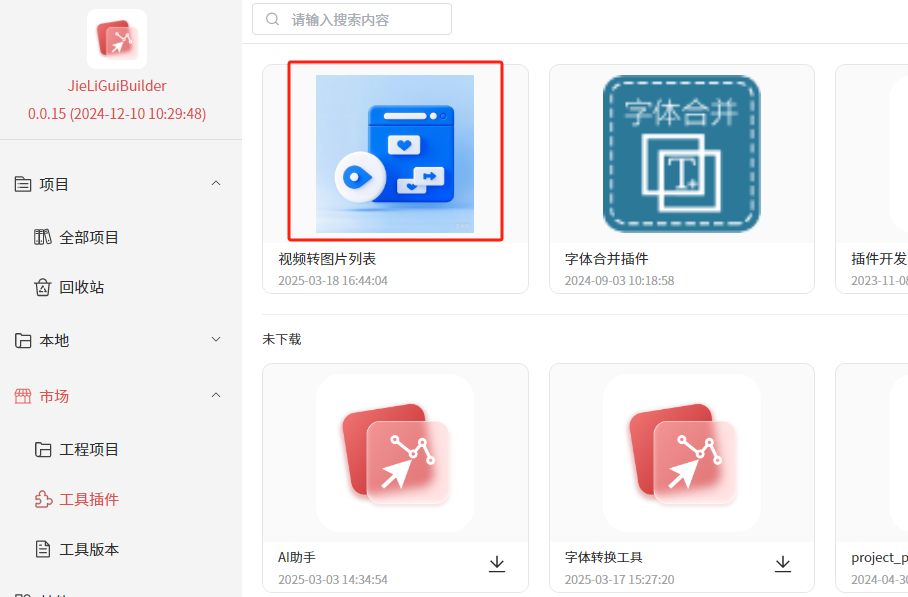
插件模板源码
下面是完整的视频转图片列表工具源码,可以下载使用。 编译后,放到插件的code目录下,重新打包即可。