添加自己的封装库示例说明
本篇教一下大家如何把自己写好的函数封装起来生成一个静态库
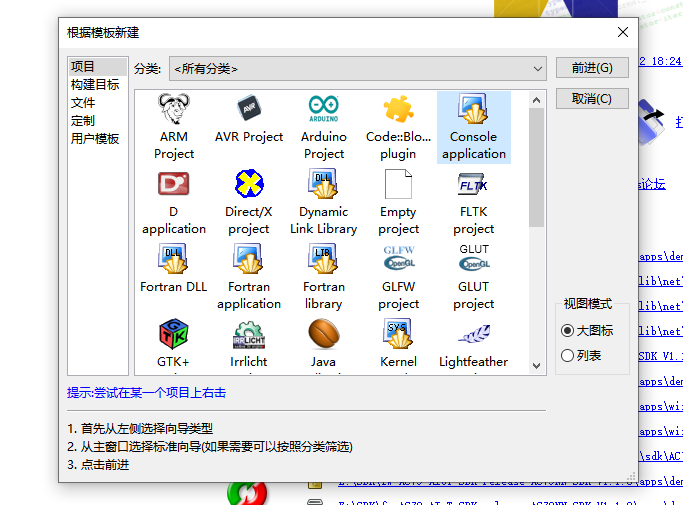
新建一个工程
file->New->project 选择Console application
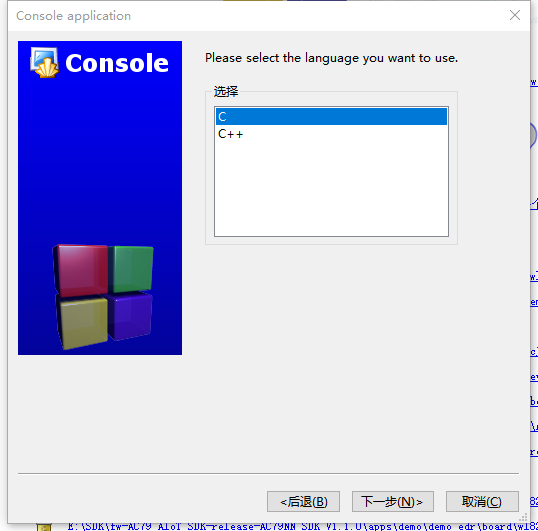
选择编程语言C
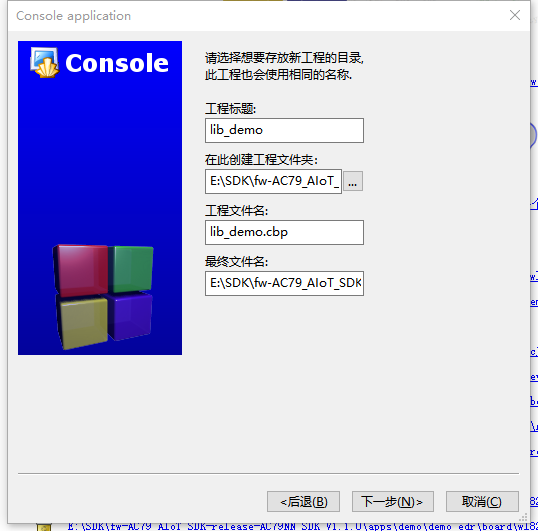
命名工程名字
选择编译器和配置文件
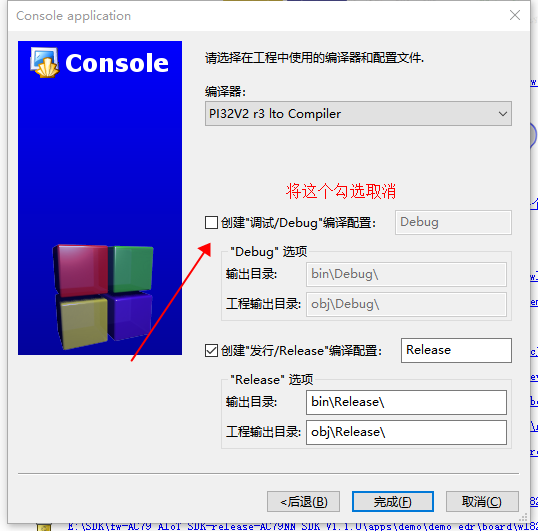
将类型改为静态库
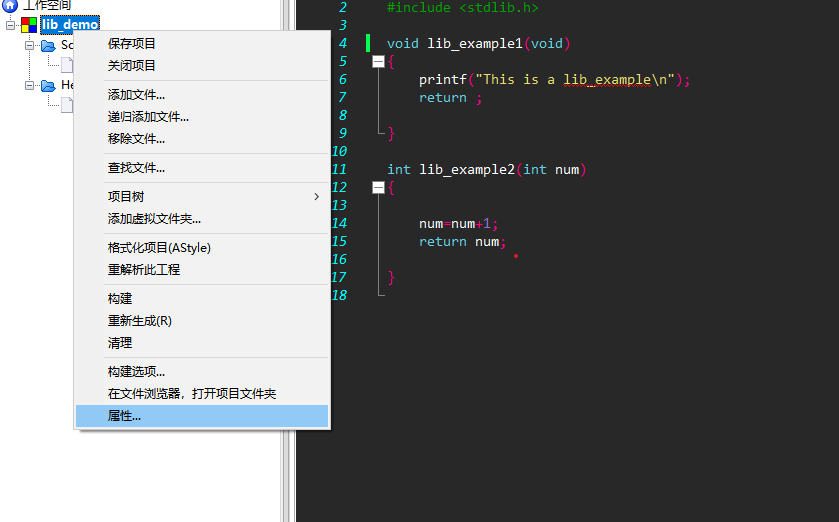
右键工程选择属性 选择构建目标
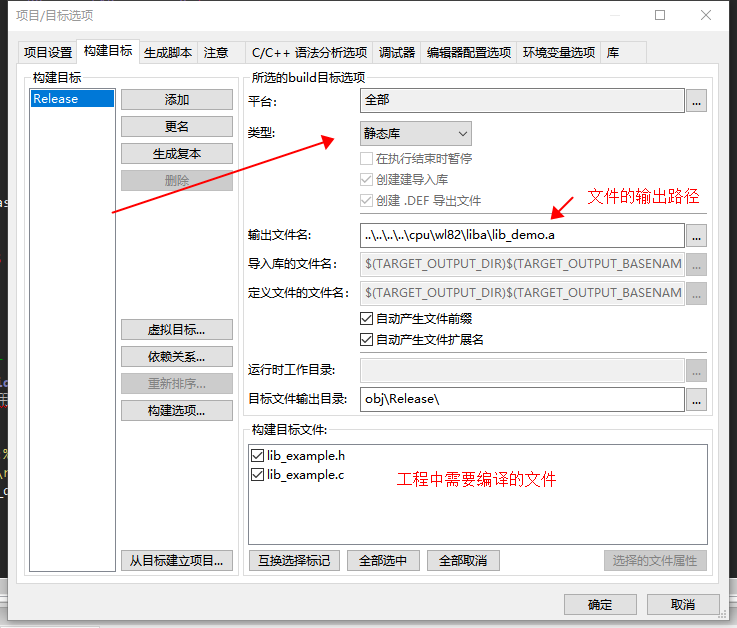
编译输出.a文件

我们已经弄好了一个封装库的demo你可以在上面修改
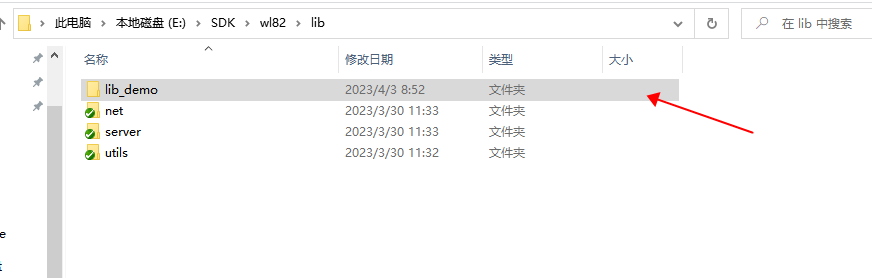
你只需要将你想要封装的函数文件加入到demo就好了。 demo的路径在sdk/lib/lib_demo下
在别的工程加入我们生成的库
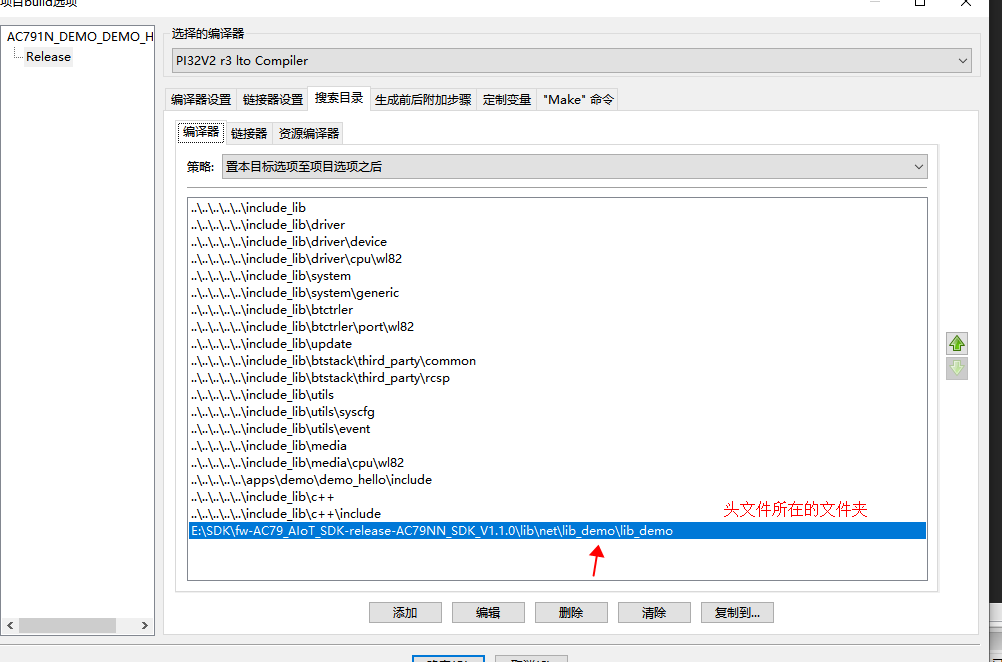
加入头文件
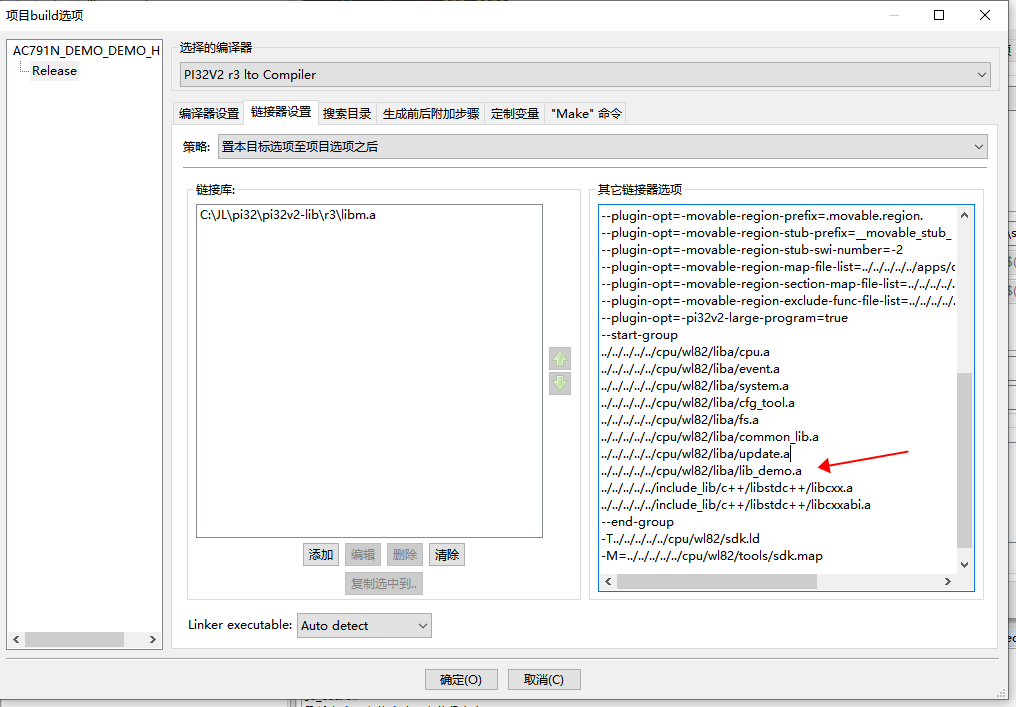
链接.a文件
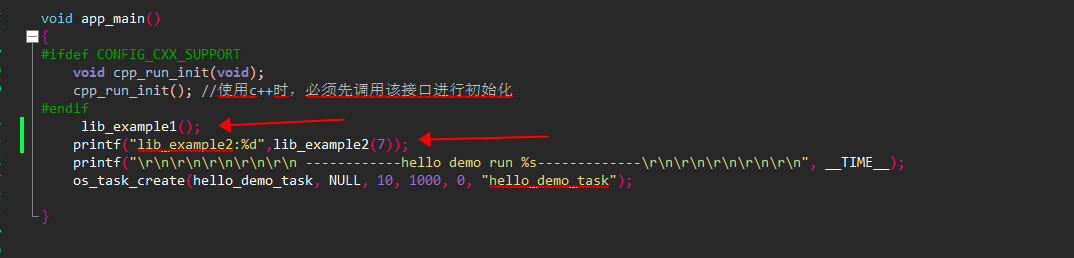
调用库函数