5.3. ui_tool
Overview
5.3.1. ui 模块介绍
UI布局工具 1工具简介 ****
UI的开发一共用到两个工具,一个是 UI布局工具,另一个是资源生成工具。
5.3.2. 1.1UI布局工具
UI布局工具用于 UI布局的设计,用户使用此工具创建页面、图层、布局和控件,工程 数据将会保存在 xxx.json文件中。UI工具的程序为:
5.3.3. 1.2UI资源生成工具
UI资源生成工具用于 UI素材资源的生成,生成的资源文件将要被下载到 FLASH中供程 序使用,生成的文件为 project.bin、result.bin和 result.str(文件的作用将在后续说明)。资 源工具的程序为:
5.3.4. 2UI布局工具使用说明
5.3.5. 2.1界面说明
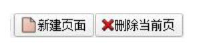
工具栏: 打开工程,可以看到窗口上方的工具栏,如下图:

- 新建工程
新建一个 UI布局工程。
- 打开工程
打开一个 UI布局工程。
- 保存工程
保存当前 UI布局工程,每次修改布局后需要先保存工程再使用资源工具生成资源文件。
- 另存为
将当前工程另存为一个新工程文件。
- 新建页面
新建一个 UI页面,页面为 UI的最顶层。
- 删除当前页
删除当前选择的 UI页面。
- 截屏
截取当前屏幕画面并保存。
- 全局设置
设置该工程的环境参数,每次设置完成后都需关闭一下,然后再重新打开工具。
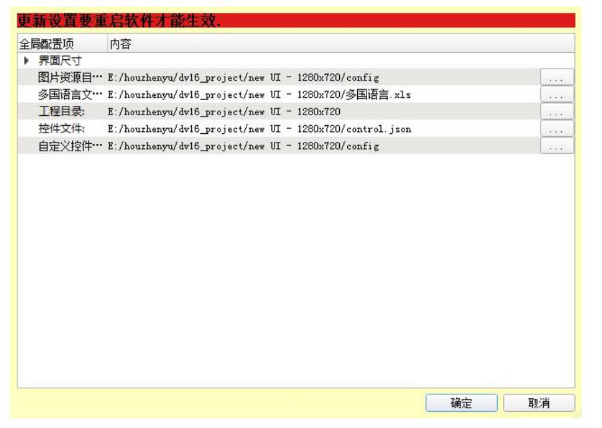
图片资源目录:此目录包含了 UI工程所需要选择使用的所有图片资源文件存放目录,包括 BMP、PNG和 JPG。 多国语言文件:此选项需要选择多国语言 XLS文件。 工程目录:选择 UI工程所在的目录。 控件文件:选择 control.json文件,不需要修改。 自定义控件目录:不需要修改。
- 工程缩放
将当前分辨率缩放到指定分辨率,工程布局按照缩放比例进行变换。

- 关于
查看当前工具版本。
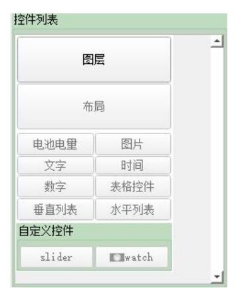
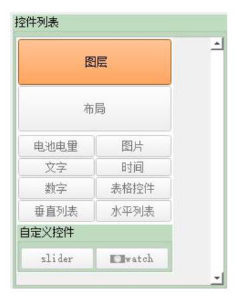
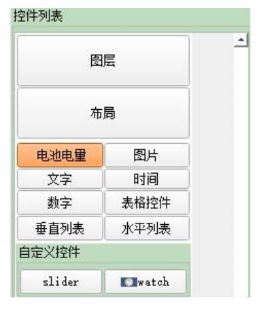
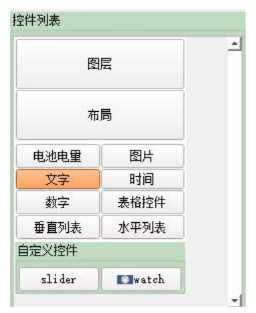
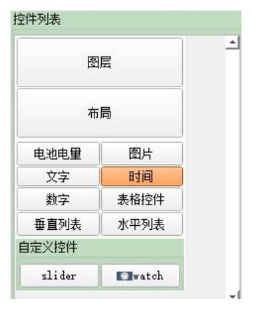
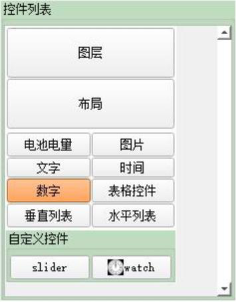
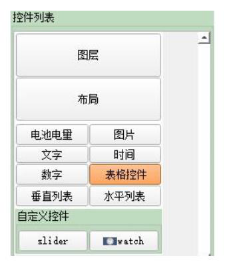
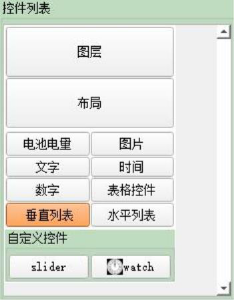
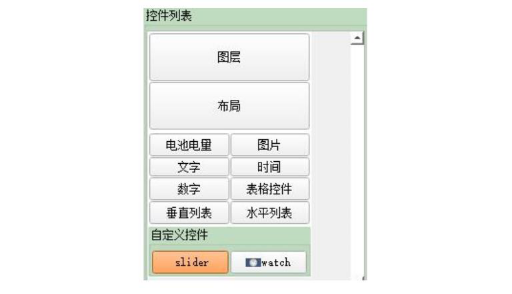
5.3.6. 控件列表:
控件列表用于选择在页面中新建某种控件,然后对其进行布局。
5.3.7. 布局结构树状图:
工具最左边的列表为布局结构树状图,此图能够反映当前页面的布局结构,包括图层、
布局和控件。
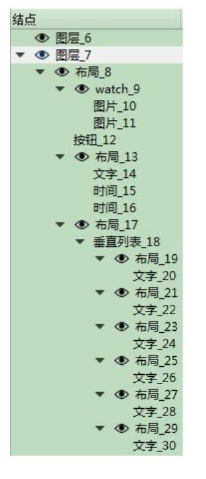
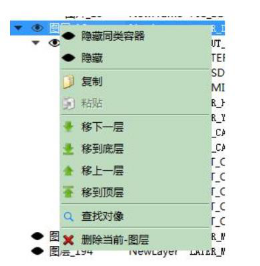
对树状图的成员进行右键点击,可以进行删除、隐藏、复制、粘贴、移动等操作。隐藏
操作是对某控件进行视觉隐藏,便于布局时的操作,对UI布局本身并无影响。隐藏后的控 件坐标的眼睛会闭合并且控件会在页面上消失,移动操作可以将布局的上下层关系进行重新 布置。
5.3.8. 控件属性:
当新建了一个控件并选择它后,控件列表下面就会出现一个控件属性面板,此面板用于
设置该控件的各种属性,包括坐标、背景色、背景图片等。
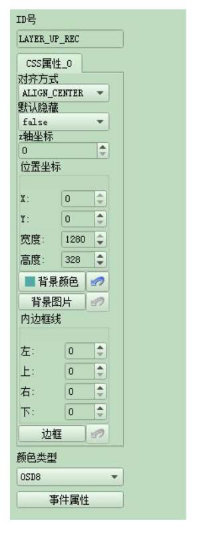
- ID号
为该控件分配的名称,工具会默认分配该值,用户也可以根据自己喜好更改该名称。
- 对齐方式
为图片或者文字在控件内显示的对齐方式,有左对齐、右对齐和居中。
- 默认隐藏
默认为 false,就是该控件默认会跟随父控件一同显示出来,当设置为 true时,改控件
将不会跟随父控件进行显示,比如一个布局内分布了一个“状态栏”和一个“菜单”,由于 菜单并不是一开始就要显示出来的,而是在按键按下时才会调出菜单,因此“菜单”控件 就设置为默认隐藏 false。
- 位置坐标
位置坐标为该控件在布局中的相对坐标。
- 背景颜色
每个控件都可以设置一个背景颜色。
- 背景图片
每个控件都可以设置一个背景图片。
- 内边框线
内边框线即控件矩形边框,此处可以设置边框 4个边的像素宽度和颜色。
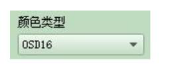
- 图层颜色类型
该参数是图层特有的,OSD1对应 bmp单色位图,OSD16可以对应 PNG图或 BMP图。
5.3.9. 页面大纲:
页面大纲显示着各个页面的缩略图。
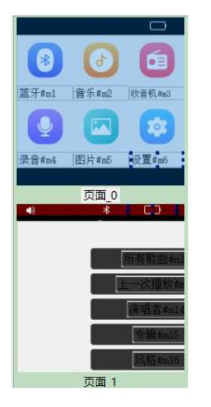
5.3.10. 2.2页面
页面是一个布局的最顶层,要进行 UI布局,都需先建立一个页面。每个页面的缩略图
都会在右边的大纲中被显示出来。点击新建页面新建一个页面,单击删除当前页删除当前页 面。
5.3.11. 2.3图层
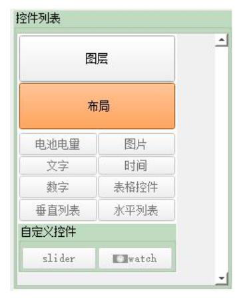
新建了页面后,需要新建图层,所有控件或布局都将放在图层上。点击图层并拖动到绘
制面板上新建一个图层,并设置它的图层颜色类型、坐标参数等属性。
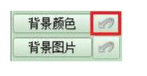
图层创建后有默认的背景颜色,如果不需要背景颜色,可以点击其右边的箭头来删除背
景颜色,背景颜色被删除后,箭头变为灰色不可选状态。如果不需要背景图片,也可以点击 其右边的箭头来删除背景图片。
图层颜色类型根据屏的类型来确定,若为点阵屏,颜色类型选择 OSD1,若为彩屏,颜色类型
选择 OSD16。
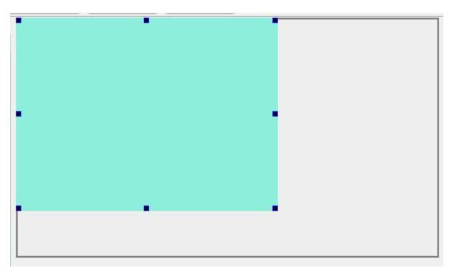
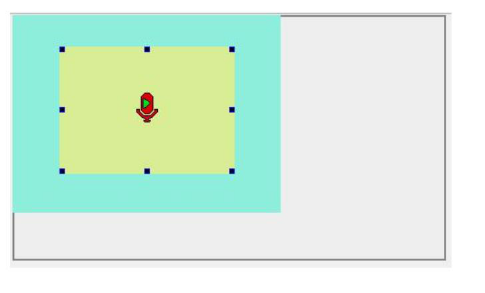
如下图所示,点击图层后拖动到绘制面板,在面板上单击并拖动图层锚点调整图层大小和坐
标位置。蓝色区域为新建好的图层。 图层也可以添加背景图片。
5.3.12. 2.4布局
新建了图层后,下一步需要先建立一个布局,控件需要用布局作为承载。先选择刚刚新
建好的图层,然后点击布局并拖动到图层上,即可新建一个布局。
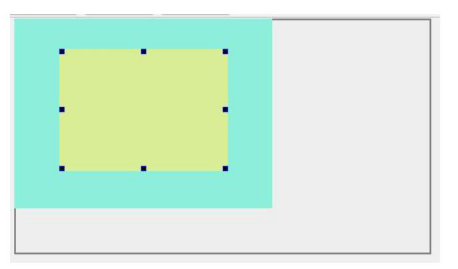
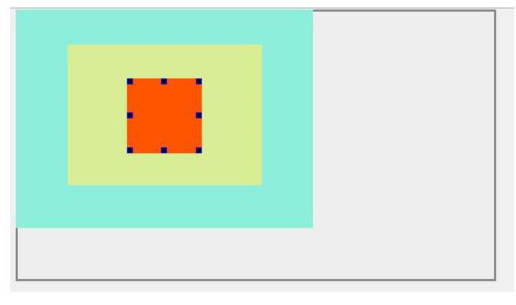
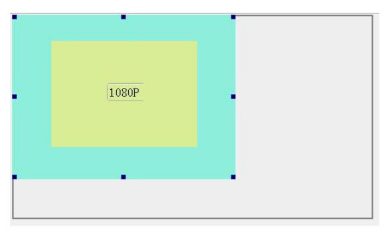
然后在图层中会出现一个矩形区域,该区域就为新建好的布局区域,调整好布局的位置
和大小,如下图,黄色区域为布局。布局也可以设置背景颜色和背景图片。
5.3.13. 2.5电池电量
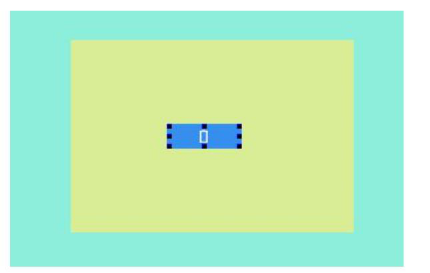
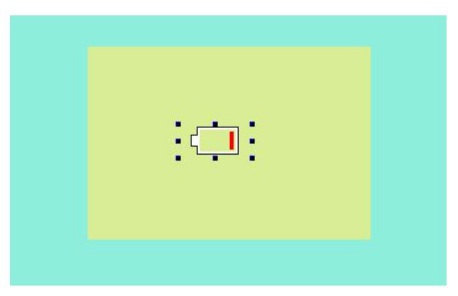
选择一个布局,点击选择电池电量并拖动到布局上,即可新建一个电池控件。
布局上出现一个电池控件矩形区域,根据需要调整好电池控件的大小和位置及其他属
性。
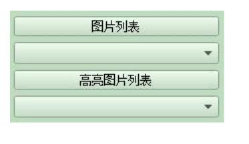
电池属性列表有两个特有属性,分别是电量图片列表和充电图片列表。下拉箭头为默认
第一次显示的图片。
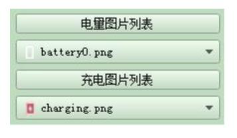
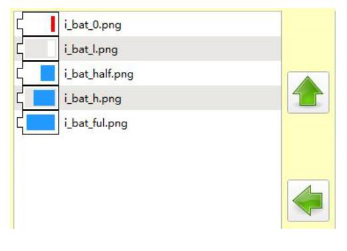
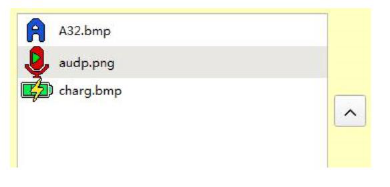
电量图片列表需要按照电量从 0%到 100%的顺序选取图片,图片数量无限制, UI内核
会根据百分比自动计算电量对应的图片。单击电量图片列表选择右边栏图片到左边栏:
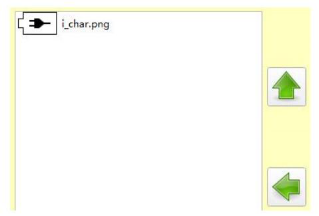
充电图片列表需要选择充电状态下的图片,如果选择多个图片,系统将顺序显示,点击
选择:
点击背景颜色去掉电池的背景色,并调整电池布局区域的大小,调整后效果如下图:
用户可根据具体需求设置其他属性,至此,一个电池控件就建好了。
5.3.14. 2.6图片

换,下拉列表为默认显示图片:
5.3.15. 2.7文字
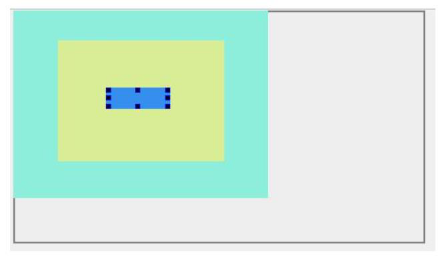
式,此处我们需建立一个多国语言文字,则编码格式编辑为 strpic。文字的显示颜色选择为 黑色:
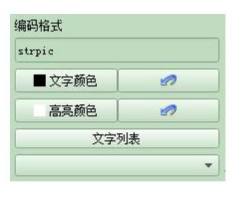
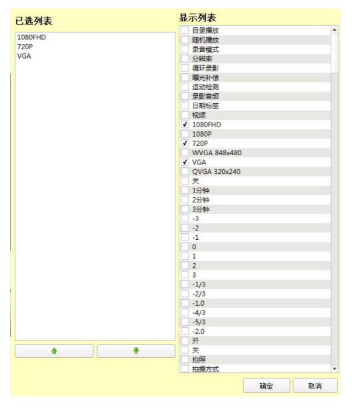
文字列表为该文字控件可以显示的多国语言,此处我们选择 3个文字,在对话框右侧的
文字左边勾选即可,对话框的左侧显示了已选文字的排列顺序,该顺序可以点击下方的绿色 箭头进行调整,然后点击确定:
去掉背景色,调整位置和大小,最终结果如图:
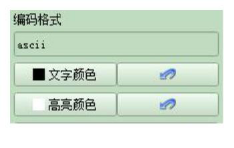
如果需要实时改变文字,则需要选择文字控件的另一种形式,将属性的编码格式编辑为
ascii,这时用户不需要添加文字列表,因为这种文字是通过程序设置实现的。如图:
用户可根据需求设置其他属性。到此,一个文字控件就建立好了。
5.3.16. 2.8时间
选择一个布局,点击时间,新建一个时间控件:
在布局上就会出现一个时间控件矩形区域:
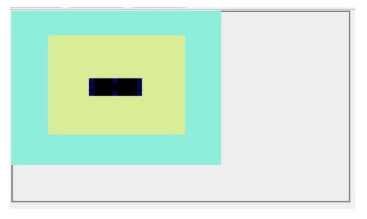
接下来需要设置时间的显示格式,格式的关键字为 Y M D h m s,分别表示年、月、日、
时、分、秒。其它文字不做解析,直接通过 ASCII或者图片显示。
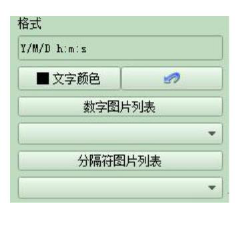
如果不设置图片列表,则所有时间文字都通过 ASCII字模来显示。此处我们打算用数字
图片来显示时间,我们可以把格式中的 Y/M/D删除。
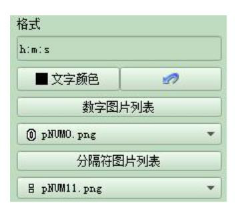
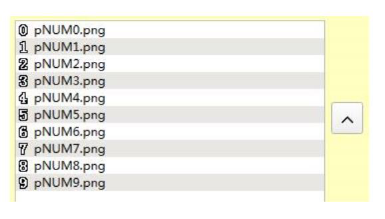
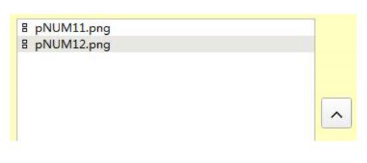
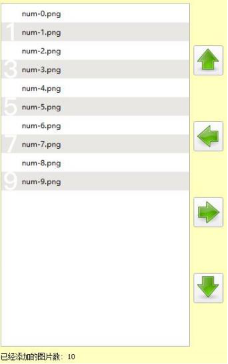
设置数字图片列表,图片需要按照从数字 0-9的顺序选择图片。
设置分隔符图片列表,分隔符图片列表需要根据顺序设置各个分隔符的图片。这里有两 个“:”符号,则需要选择两个“:”图片,用户可以复制原来的图片作为第二个“:”, 图片选择如图:
用户可根据需求设置其他属性。到此,一个时间控件就建立好了。
5.3.17. 2.9数字控件
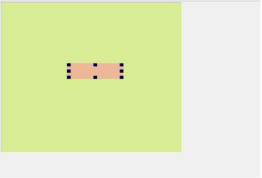
选择一个布局,点击数字,新建一个数字控件:
在布局上就会出现一个数字控件矩形区域:
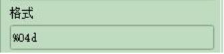
接下来需要配置数字的格式,可以是纯数字图片,也可以插入一些分隔符图片,只支持
整型的数字显示,例如“%04d”表示四位数字,不足四位补 0,如下所示:
数字图片列表需要按顺序添加 0~9的数字图片。
分隔符图片列表跟上面的格式对应,按顺序添加。比如格式设置为”%04d-%02d”,需要添加 一张”-”字符的图片。最大只能设置两个数字格式,数字之间的分隔符可以设置任意的图片。
空格图片列表只有当数字格式中间没有填充 0时添加,比如”%4d”.
用户可根据需求设置其他属性。到此,一个数字控件就建立好了。
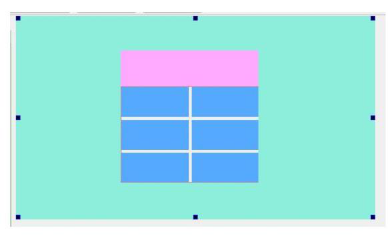
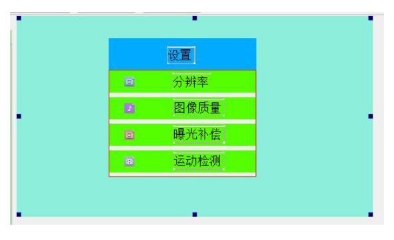
5.3.18. 2.10表格控件
表格控件是作为表格形式的菜单来使用。新建一个布局,在布局中创建一个表格控件:
设置好行数和列数,设置好菜单项的长宽。
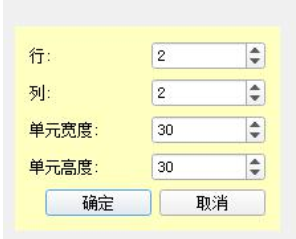
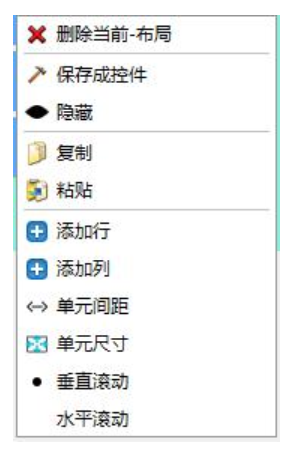
右键点击表格,可以添加行、添加列、设置单元间距、单元长宽等参数。
将布局设置为紫色,将表格各个单元设置为蓝色,设置好后效果如下图所示:
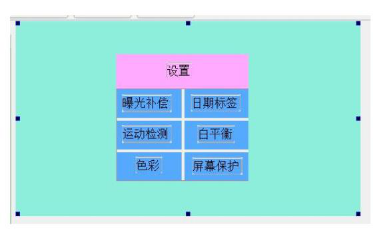
在紫色布局空隙中添加文字控件作为标题:
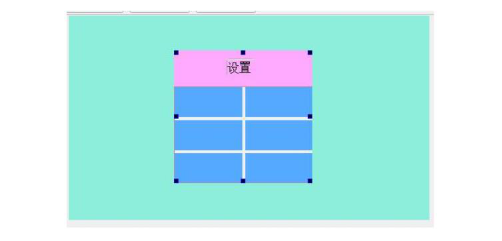
在菜单项添加文字控件作为菜单项文字:
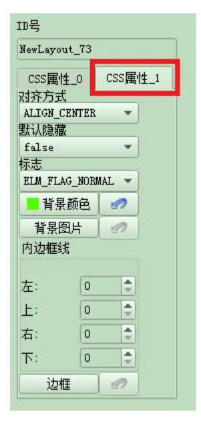
对每个菜单项添加活动项属性,右键点击菜单项的 CSS属性_0,选择复制添加,添加
CSS属性_1。
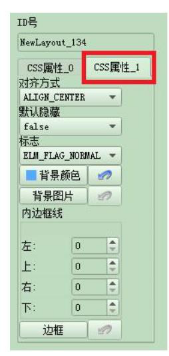
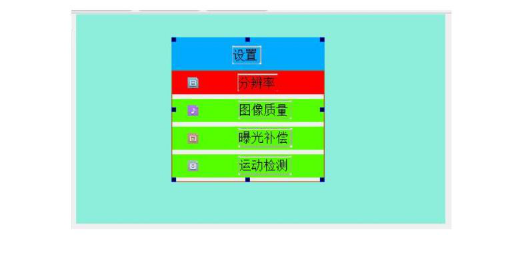
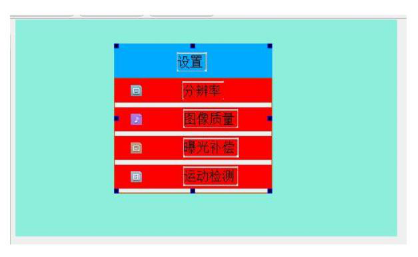
将各个菜单项的 CSS属性_1设置为活动项颜色,此处设为黄色,效果如图:
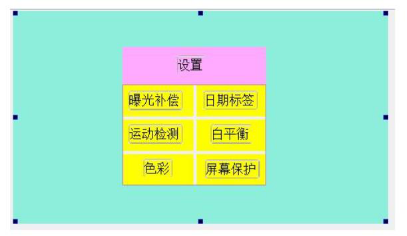
此时,菜单项的默认状态为蓝色,而被选中后的活动项变成黄色。至此,一个表格控件
菜单就建立好了。
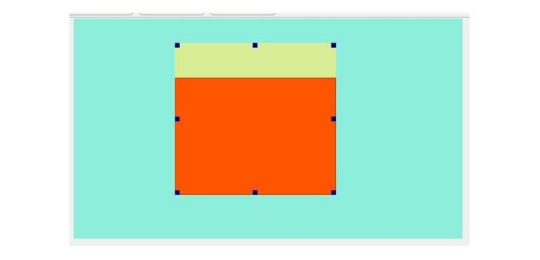
5.3.19. 2.11垂直列表
垂直列表是用在垂直菜单中的,一个菜单最好占用一个布局。选择一个布局,点击垂直
列表,新建一个垂直列表控件:
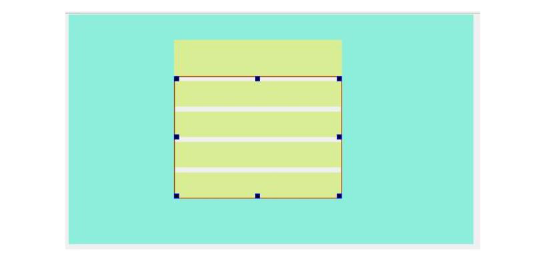
调整好布局和垂直列表控件的大小,预留布局上方空档作为菜单的标题项,如图黄色部
分为空档,红色部分为垂直列表区域:
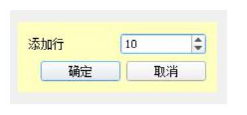
接着要建立菜单项,右键点击垂直列表区域(红色区域),选择添加行:
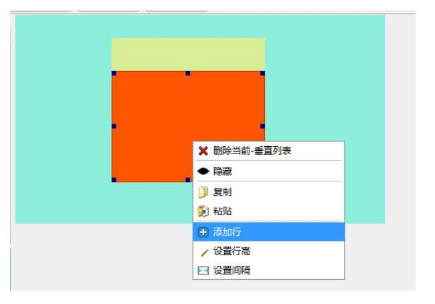
弹出对话框,设置添加的行数,假如该菜单有 10项,则填写 10:
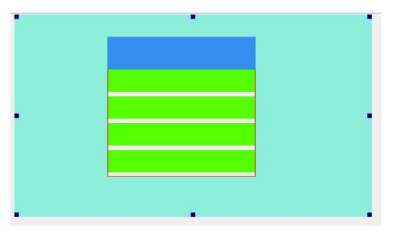
添加好后,工具会自动生成等距等长等宽的行,如果垂直列表控件不够显示所有行,可
以通过鼠标滚轮来进行行切换。下图为已经添加好的行,一面只够显示 4行:
接下来我们可以改变行的背景色为绿色,将布局改为蓝色,如图:
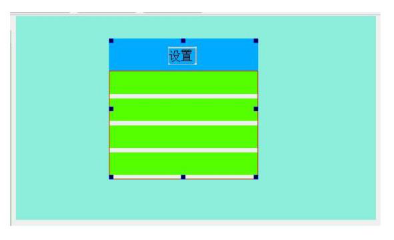
添加标题,需要在蓝色的布局部分添加一个文本控件,编码类型为 strpic,选择其图片 列表为设置字体颜色为黑色,调整好控件大小并去除背景色,效果如图:
然后需要对菜单项进行文字和图片布局,逐行选择并进行菜单项的图片控件与文字控件 添加,最后效果如图:
到此,菜单项的所有行的目前非活动项属性都设置完毕,也就是当前的 CSS属性_0。接 下来要为所有菜单项都添加一个 CSS属性_1作为活动项属性。选择行,右键点击 CSS属性 _0,选择复制添加,生成一个 CSS属性_1:
我们将作为活动项状态的 CSS属性_1的背景色改为红色,此时第一行的活动项动作及 表现为背景色变成红色,效果如图:
接着将其它行的活动项状态都设置为红色,亦即将 CSS属性_1背景色改为红色,最终 效果如图:
此时,非活动项为绿色,被选中的活动项将变成红色。一个垂直列表菜单就做好了。
5.3.20. 2.12水平列表
水平列表添加方式同垂直列表,请查看 2.11节。
5.3.21. 2.13slider滑块
点击并拖动 slider控件到布局上,新建一个 slider滑块控件。
如下图,一个 slider滑块就创建出来了,滑块一般用于显示播放进度条。
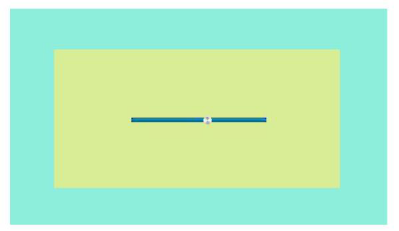
Slider滑块控件的结点结构如下图所示,right_pic为底部黑色条,left_pic为顶部进度蓝 色条,slider_pic为圆点滑块。

用户可以根据需求,改变这三个图片控件的属性,至此,一个 slider控件就建好了。
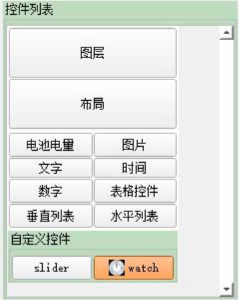
5.3.22. 2.13watch钟表控件
点击并拖动 watch控件到布局上,新建一个 watch钟表控件。
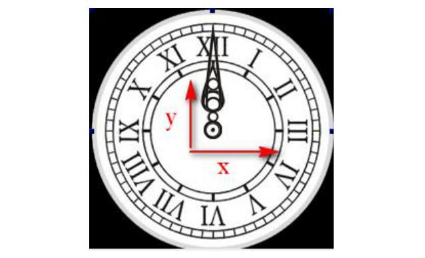
钟表控件基本模型包含一个背景,一个时针,一个分针,一个秒针。效果图为:
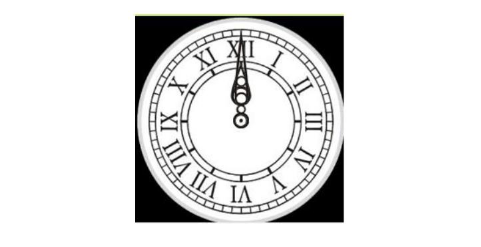
钟表控件的表盘是一张566背景图片,若需要替换表盘,可直接修改背景图片。
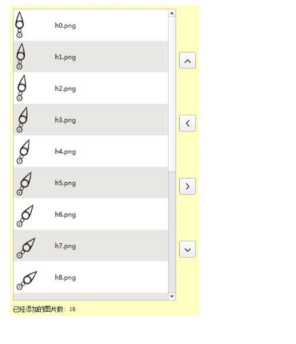
依次设置时针、分针、秒针的图片列表,每个列表分别是 16张图片,位于表盘的第一 象限。
按顺时针方向依次添加时针(分针,秒针类似)第一象限的 16张图片,列表如下图:
添加完图片后请根据图片的真实长度来设置钟表时针、分针、秒针子控件的宽度以及高 度属性。然后将时针、分针、秒针中心的圆点对准背景图中的圆点:

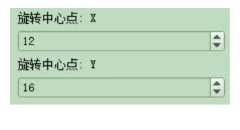
接下来要设置时针、分针、秒针图片的旋转对称中心坐标,坐标的 XY原坐标为图片的 左下角:
确定图片的旋转对称中心,可以用 windows自带的画图工具打开其中一张图片。如下 图所示
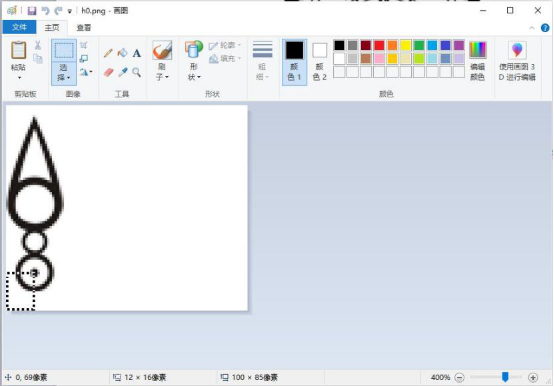
此处的旋转中心就是指针的圆点位置,选中圆点到左下角的区域,观察选区的长宽信息, 这里是 12x16像素,那该图片的旋转中心即为(12,16)。确定旋转中心后,设置图片的旋转中 心点属性,注意一定要设置准确,否则其它象限的指针将会显示不准确。
3UI资源生成工具使用说明 使用 UI布局工具布局好 UI并且保存好工程后,需要使用资源工具生成 UI资源文件。 打开 UI资源工具:

在弹出的对话框中,填入需要生成资源的工程文件,比如此处为 LianYong.json。不生成 资源文件选项一般不勾选,如果勾选则只会生成 project.bin工程布局文件。 点击配置多国语言可以对多种语言进行参数设置,单击某种语言变成蓝色即为选择生成 该种语言,至少选择一种语言!双击某种语言即可设置语言文字属性。
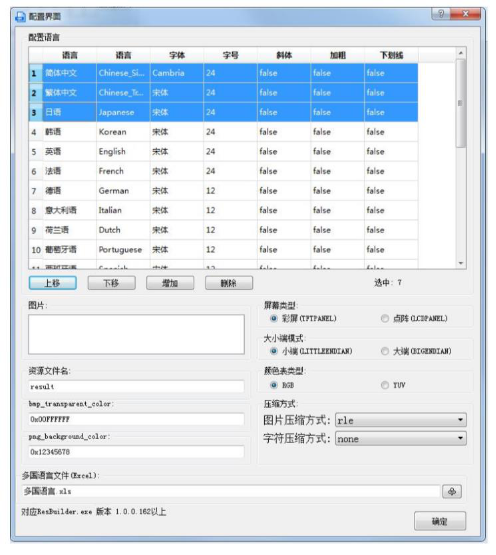
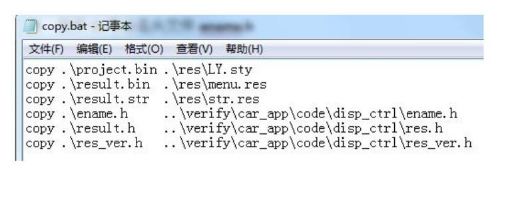
配置好参数后,点击生成资源文件(F5),等待资源生成完成显示 100%完成。工具会 在同级目录生成6个文件:
1)控件ID号命名文件ename.h
2)工程布局文件project.bin

3)图片资源文件result.bin
4)多国语言文件result.str
5)多国语言ID定义文件result.h
6)资源版本号定义文件res_ver.h
用户需要将生成好的文件放到 SDK工程中使用,可以参考 copy.bat批处理进行文件复 制。每次只需运行该批处理就可以完成繁琐的文件复制与重命名操作。用户根据自己的工程 目录来编辑批处理命令:
最后,UI资源文件操作流程已经完成,用户可以编译 SDK并且升级程序到开发板运行。 34